
Guided Lab: Amazon Alexa
Speech Recognition and Natural Language Processing usually go hand in hand to solve a multitude of problems in Interactive Technologies.
In this exercise, you will create a Custom skill for Amazon Alexa.
- Navigate to this link in your browser.
- Click the Sign In link on the top right corner of the page
- Proceed with using your Amazon account or create a new one. Irrespective of whether you use your existing account or created a new account, you will be asked for additional information to let you develop on Amazon Alexa platform, subject to its Terms and Conditions, etc.
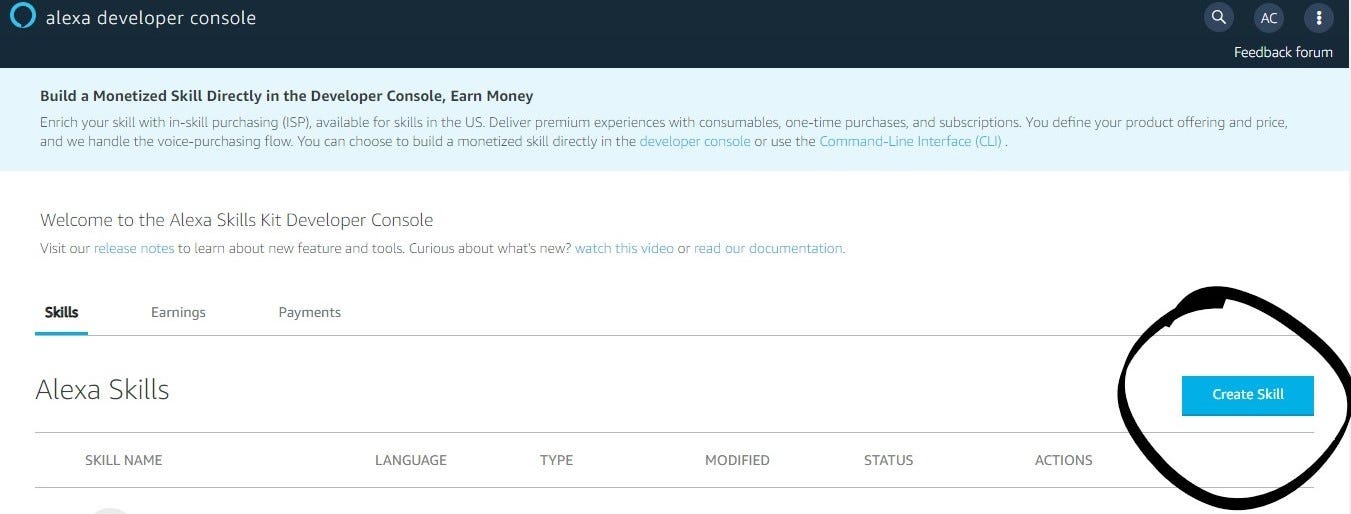
- Proceed with the account creation and this will lead you to Alexa developer console
- Go ahead and create a new skill
- On the skill creation page, give the following information
- Skill Name
- Locale: English (IN)
- Choose a model to add to your skill : Custom
- Choose a method to host your skill’s backend resources: Alexa-hosted (Python)
- Click Create Skill
The next page will prompt you for a template, select
Choose a template to add to your skill: Start from Scratch
- Once the skill is created, on the Build tab -> Go to Invocations -> Skill Invocation Name and give a 2 word invocation name for the Alexa skill (Eg: smarty sam)
- Save the model and build it
- Once the build is completed, go to the Test tab and select Development in Skill testing is enabled in: dropdown
- Either type launch {Skill Invocation Name} (Eg: launch smarty sam) or press and hold the microphone on the text box and say launch {Invocation name}
- The skill will respond you with Welcome, you can say Hello or Help. Which would you like to try?
- You could proceed with typing or saying hello to get the response Hello World!
This was a quick test of developing a new Alexa skill. Let’s add a new intent to this skill now and customise its response!
- Go to the Build tab -> Interaction Model -> Intents and click Add Intent
- Give a name for the intent (Eg: NameTheCEO). Note this down along with the capitalisation as we will need it later
- Give the sample utterances to invoke this intent
- Who is the CEO of Atria University
- Give me the CEO’s name of AU
- What is the name of Atria University’s CEO
- Save the model and Build it
- Navigate to the Code tab and in the lambda_function.py file, and do the following
- Add a new IntentHandler
newIntentHandlersuch that your last lines in this files looks as follows
- Add a new IntentHandler
sb = SkillBuilder()

sb.add_request_handler(LaunchRequestHandler())
sb.add_request_handler(HelloWorldIntentHandler())
sb.add_request_handler(newIntentHandler()) # This is the newly inserted handler
sb.add_request_handler(HelpIntentHandler())
sb.add_request_handler(CancelOrStopIntentHandler())
sb.add_request_handler(FallbackIntentHandler())
sb.add_request_handler(SessionEndedRequestHandler())
sb.add_request_handler(IntentReflectorHandler()) # make sure IntentReflectorHandler is last so it doesn't override your custom intent handlers

sb.add_exception_handler(CatchAllExceptionHandler())

lambda_handler = sb.lambda_handler()- Let’s now define the newIntentHandler() by adding the following snippet in the line 20
class newIntentHandler(AbstractRequestHandler):
    def can_handle(self, handler_input):
        return ask_utils.is_intent_name("NameTheCEO")(handler_input)

    def handle(self, handler_input):
        return ( handler_input.response_builder.speak("The CEO of Atria University is Shaheem Rahiman").response )
- Save and Deploy the code
- Navigate to the Test section and this time try the command
ask smarty sam who is the CEO of Atria University
- Navigate to the Test section and this time try the command
- You should listen to the response as you provided in the code
- Since the skill is developed and deployed in your own Amazon account, feel free to create more intents, associate their utterances, code their response and try it out
Lab complete
Congratulations! You have completed the lab.
Comments